We’re in the midst of the June to October dry season in Singapore, with the potential of El Nino and the weather has been unbearably hot.
Here’s one way to stay cool, get a little bit of arm exercise and have fun indoors with your kids. Simply make your own ice cream!
Yes, it’s super easy and each serving will be ready in less than 5 minutes. Better still, the amount of sugar, type of milk and toppings is all within your control, plus the possible concoctions are endless.
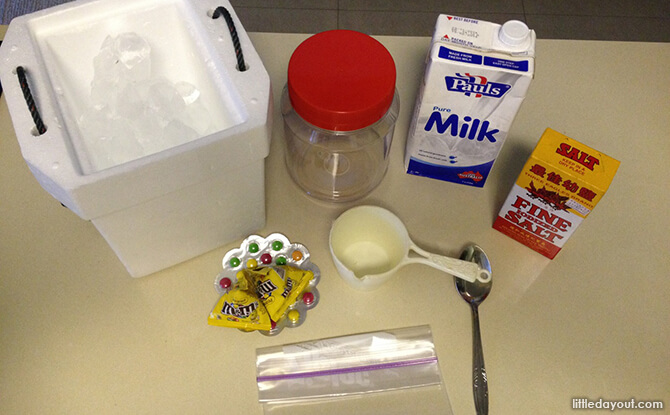
What You Need (per serving)
BE PSLE-READY: Join Expert Educators for Revision Boosters to Empower P6 Students
BURP: Join the Sound Collector on a Whimsical Chase at Esplanade – Theatres on the Bay
WEEKEND IDEAS: Get Inspirational Ideas of Things to Do
- 2 tablespoons of sugar
- 1 cup of milk
- ½ teaspoon of vanilla extract
- 2 cups of ice
- Rock salt (normal salt works too)
- 1 container with a cover (for making the ice cream)
- 1 small ziploc bag (for the ice cream)
- Toppings that you and your kids will like, e.g. M&Ms or cut fruits
How To Make Your Own Ice Cream with Your Kids
1. Mix Up Your Own Ice Cream Flavour
Pour the cup of milk, sugar and the flavour of your choice into a small Ziploc Bag. For chocolate or strawberry lovers, use chocolate or strawberry milk respectively. Otherwise, stick to regular milk and add different essences (e.g. lychee, orange etc) or use vanilla extract to get vanilla ice cream. You can add various fruit juices too with small chunks of fruit as a healthier alternative. And with the abundance of durian this season, why not tip in some actual durian besides just durian essence too? The choice is yours. Just mix them all up in the Ziploc bag.
2. Shake It Till It’s Icy and Creamy
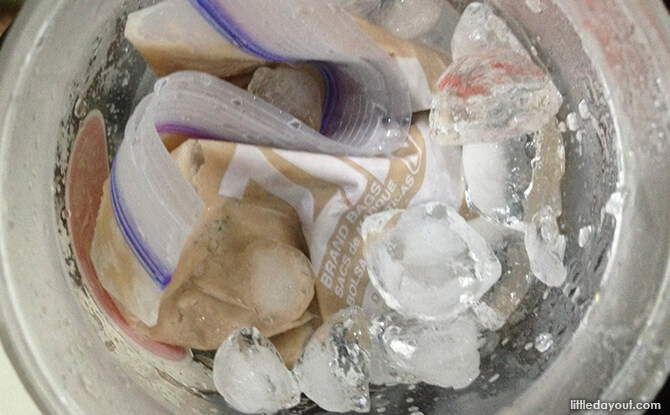
Put the Ziploc bag with its contents into the container. Place the ice and salt around the Ziploc bag in the container. Shake and shake the whole container until the contents within the Ziploc bag turns into creamy and thick ice cream.
We’re not the science experts, but somehow the salt and the shaking action melts the ice and there is transference of heat and cold. The ice around the Ziploc bag melts, the contents in the Ziploc bag turns cold and ice cream is formed! This step takes a lot of shaking, so get your energetic bunnies in on the action. Have a cloth ready to wrap the container or enjoy having your hands cold as you shake things up.
3. Present the Ice Cream and Its Toppings
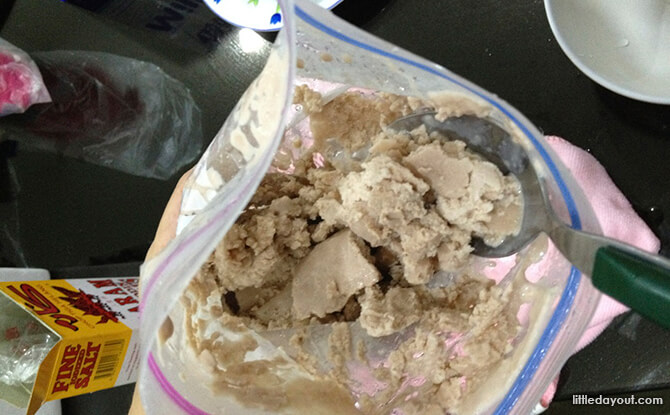
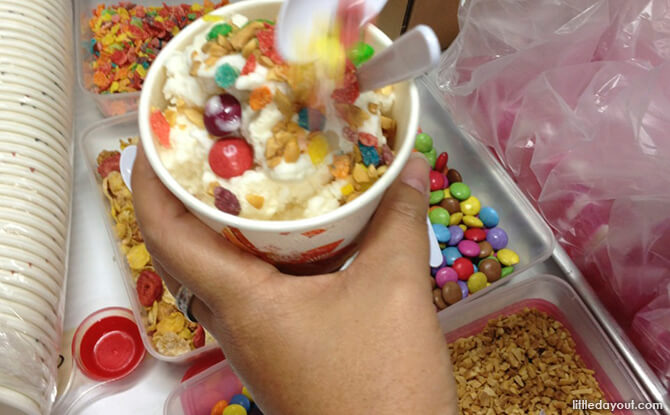
Remove the ice cream from the Ziploc bag and serve it in a bowl. Add your kids’ favourite toppings, be it nuts, M&M chocolates or strawberries.
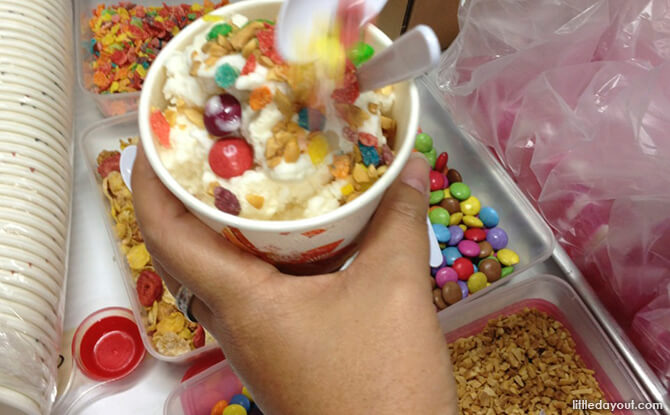
We’re sure just one batch of ice cream won’t be enough and you’ll all be reaching out to make more helpings!

Here’s a summary of how to make your own ice cream once again:
- Pour milk, sugar and the flavour of your choice into a small Ziploc Bag. Shake to mix it all up.
- Put the Ziploc bag with its contents into the container. Place the ice and salt around the Ziploc bag in the container. Shake the whole container until the ice cream becomes creamy and thick.
- Transfer the ice cream into a bowl. Add your favourite toppings.
Enjoy your DIY ice cream!


